TalkBox forms can be used to add contacts to your account or update existing contacts with new information. Forms are a great way to enrich your data so you can send more meaningful communications with added personalisation. They can be used on your website, on a mobile device or as a link in a communication.
This article will guide you on how to create a form in 5 steps. This process is the same whether you’re using a hosted or embedded form.
Navigation: Tools > Forms > Hosted forms OR Embedded forms > Create a new form
Step 1: Add fields to your form
- Use the form field block to drag & drop fields onto your form.
- Select the field you want from the dropdown of available fields in your TalkBox account.
- Select whether or not the field is required.
- Optionally, customise the field presentation by editing the field label & position.
Step 2: Style your form
- Edit the global options so that your form reflects your business branding.
- Add additional content to your form, such as images or a logo.
- Click save & continue once you’re done.
Step 3: Apply form settings
- Name your form a descriptive name.
- Optionally, update your form to only accept new contacts if desired.
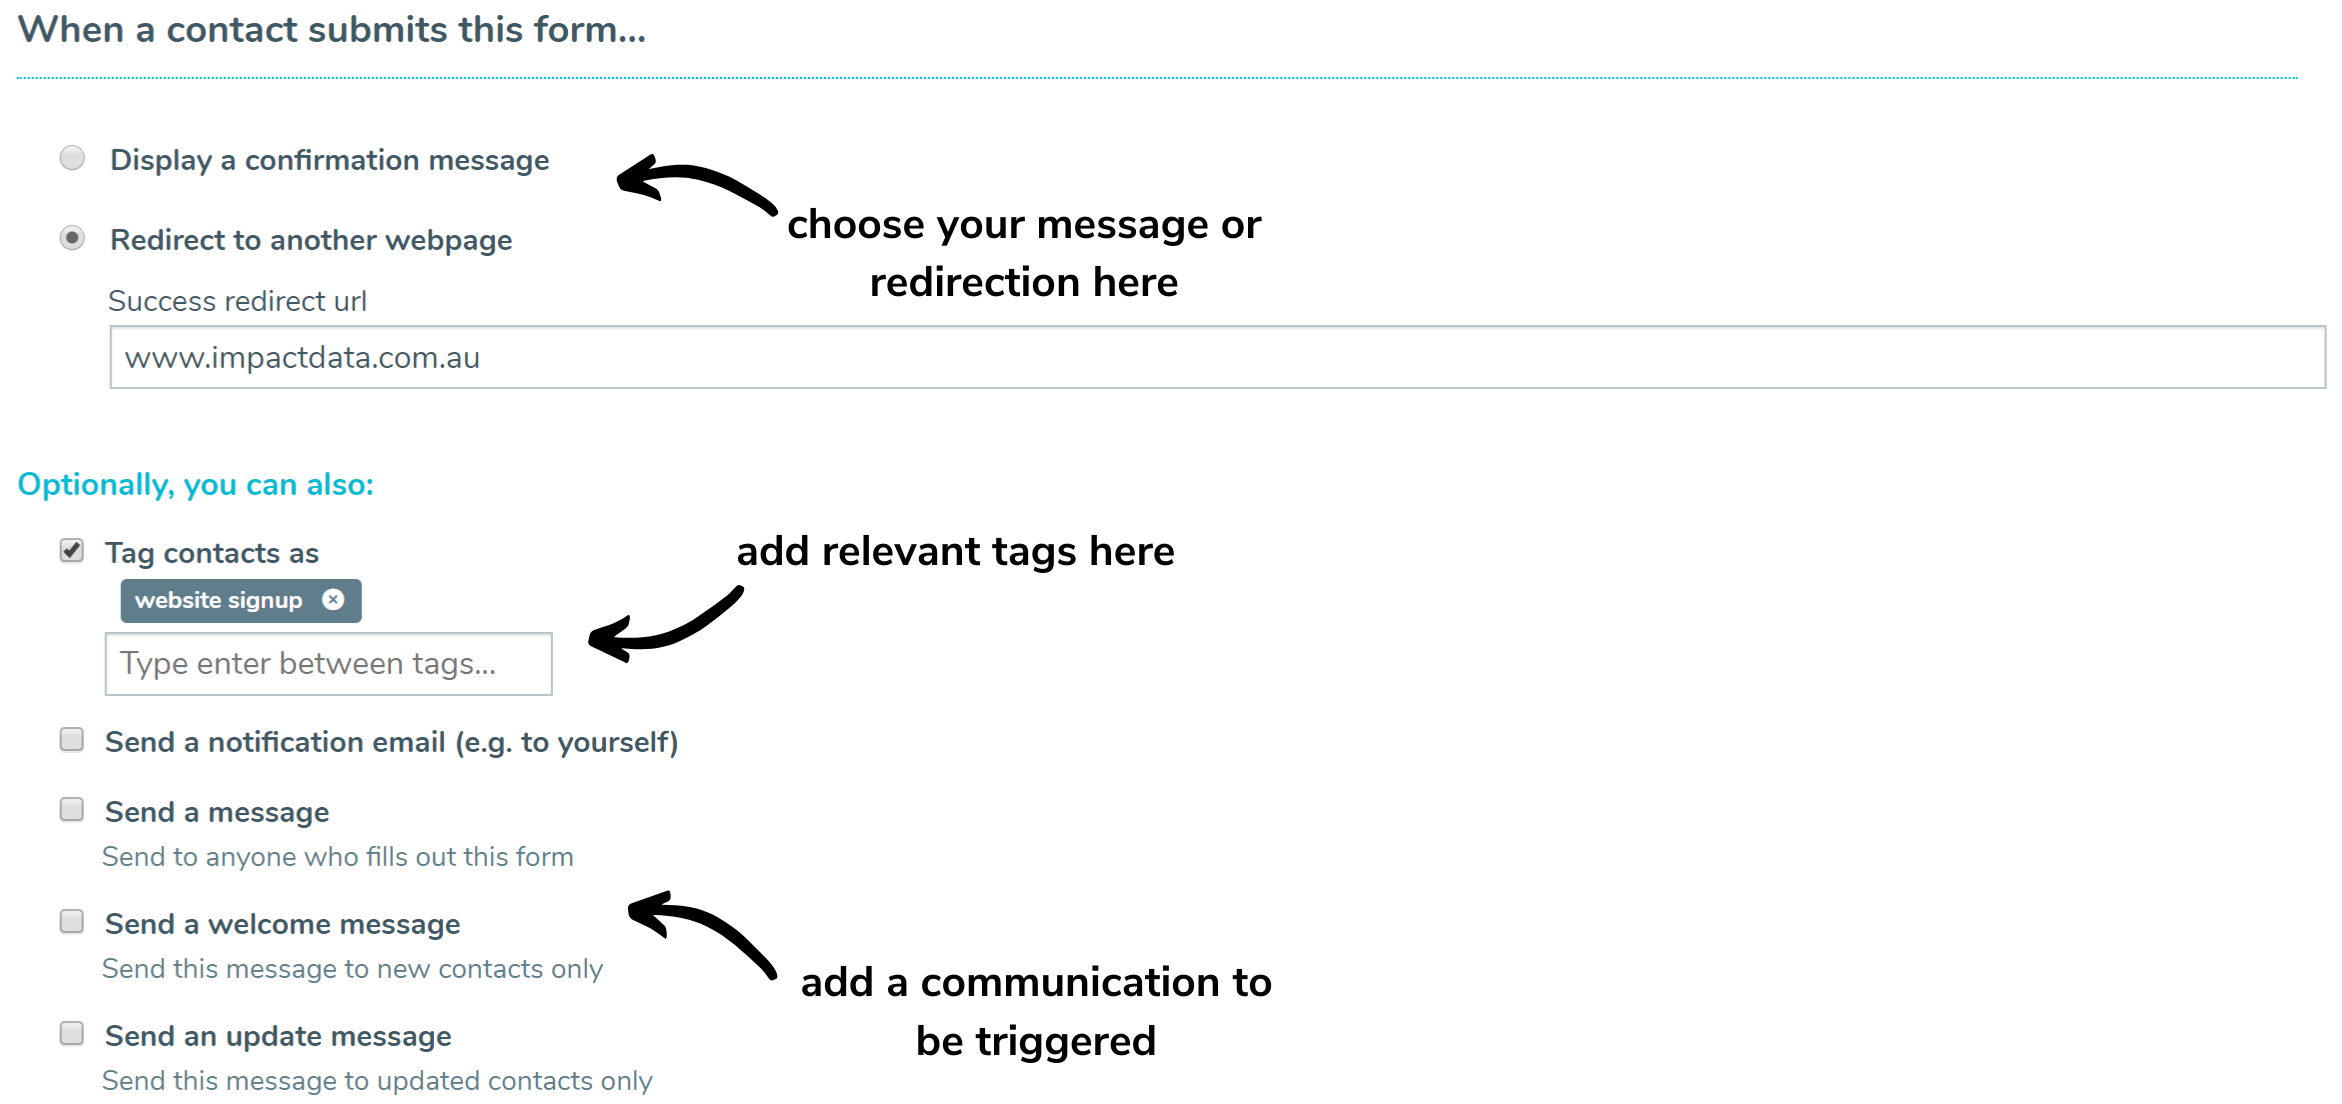
Step 4: Add form actions
- Edit your form confirmation message or add a link to redirect the contact when the form is submitted.
- Add a tag that will be applied to all contacts who submit the form.
- Add a notification email to go to yourself (if required).
- Add any triggered communications wanted.
- Save your form.
Step 5: Get your form URL
- Copy the link to your form either on the editing page or on the main forms page.