The TalkBox signup button can be quickly and easily added to your website. It will allow contacts to signup to receive your communications. This article will guide you on how to configure your signup button in 3 steps.
Navigation: Tools > Forms > Signup Button
Step 1: Customise the button settings
- Click ‘Button Settings’
- Use the editing tools to change the colour, text and size of your button.
Step 2: Customise the pop-up settings
- Click ‘Pop-Up Settings’
- Edit heading, sub-heading and button label.
- Include an agreement block about the terms and conditions of agreeing to receive marketing communications from you. eg. By ticking this box you agree to be contacted by email and SMS with updates and marketing. You can unsubscribe any time by clicking the link in all SMS and email communications. Your contact information will not be shared with anyone else.
- Edit success message (this will be displayed when the user clicks to submit the form).
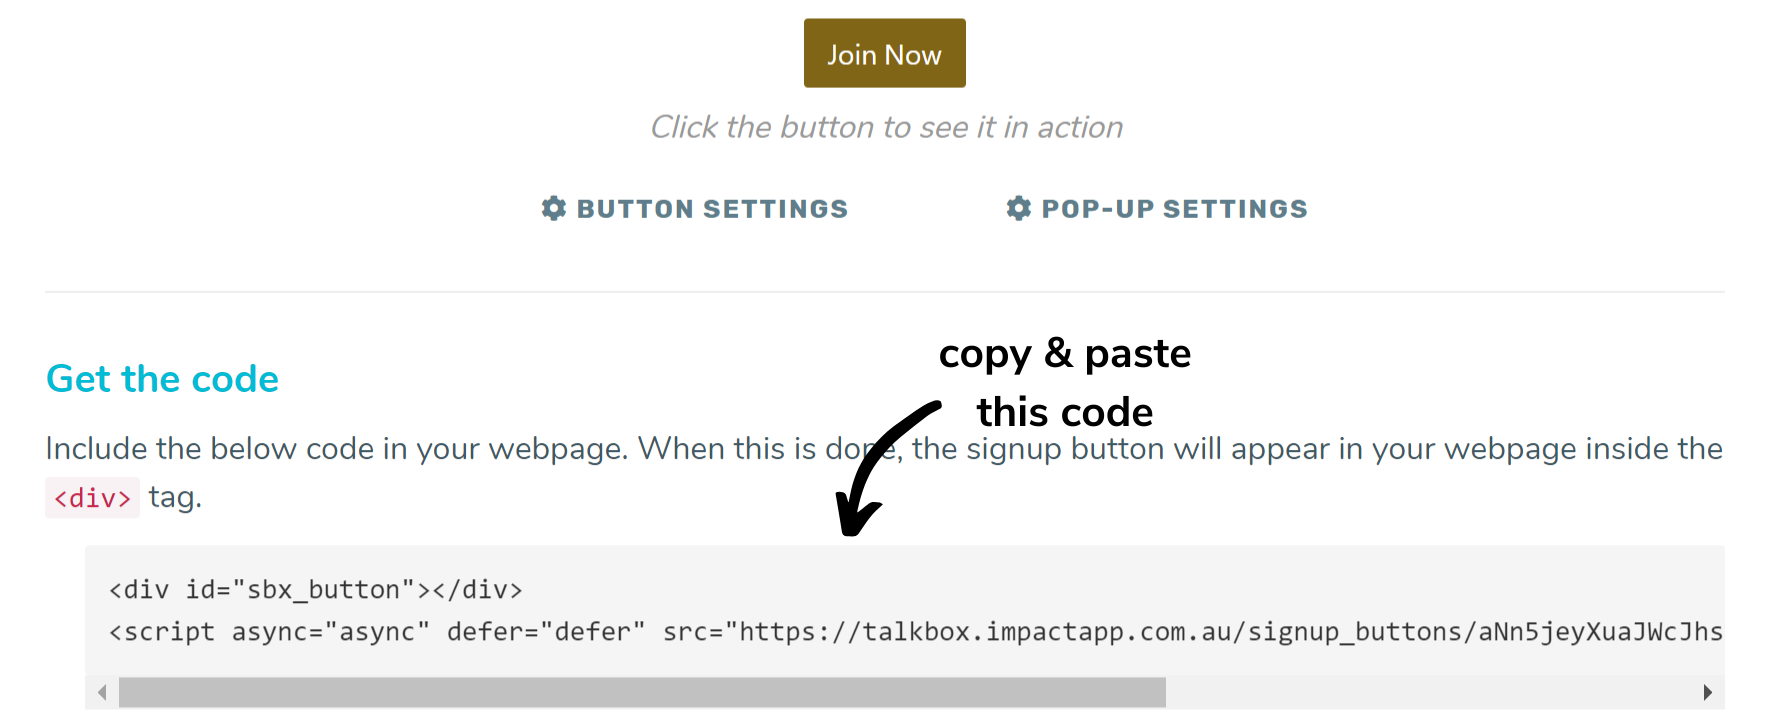
Step 3: Get the code & add to your website
- Copy the code as displayed in TalkBox.
- To add the button to your website, Include the below code in your webpage. When this is done, the signup button will appear in your webpage inside the <div> tag.