Date triggered communications are communications which are configured to send when a contact meets the criteria for sending. They can be set up to trigger from any date field in your TalkBox account.
This article shows how to create a date triggered communication in 4 steps.
Navigation: Automated > Date Triggered > add new date triggered communication
Step 1: Create content & review content
- Select channels from email and SMS.
- Create content using the drag & drop editor.
- Review content & send a test communication.
- If using merge fields, use “preview content for” to review your personalisation.
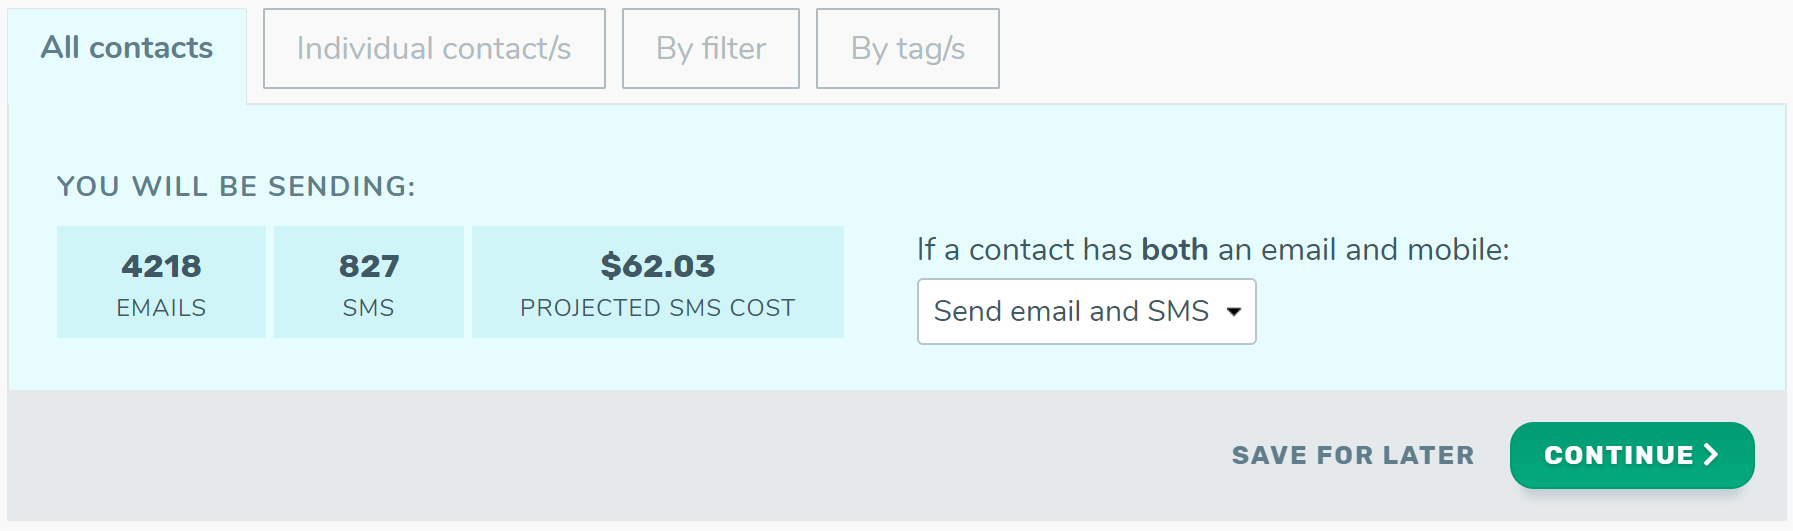
Step 2: Select your recipients
- Select who will receive the communication using filters or tags, or have your communication send to any contact when they meet the trigger condition.
Step 3: Select your date trigger
- Select from any available date field in your account
- Edit the offset using the three drop-down options:
- Number – select any number from 1-30.
- Period – select from days, weeks, months or years.
- Offset – select from before, after or on the day of.
- Choose a time of day for your communication to be sent.
- Optionally select to send the communication every year, this will send based on the day and month regardless of the year.
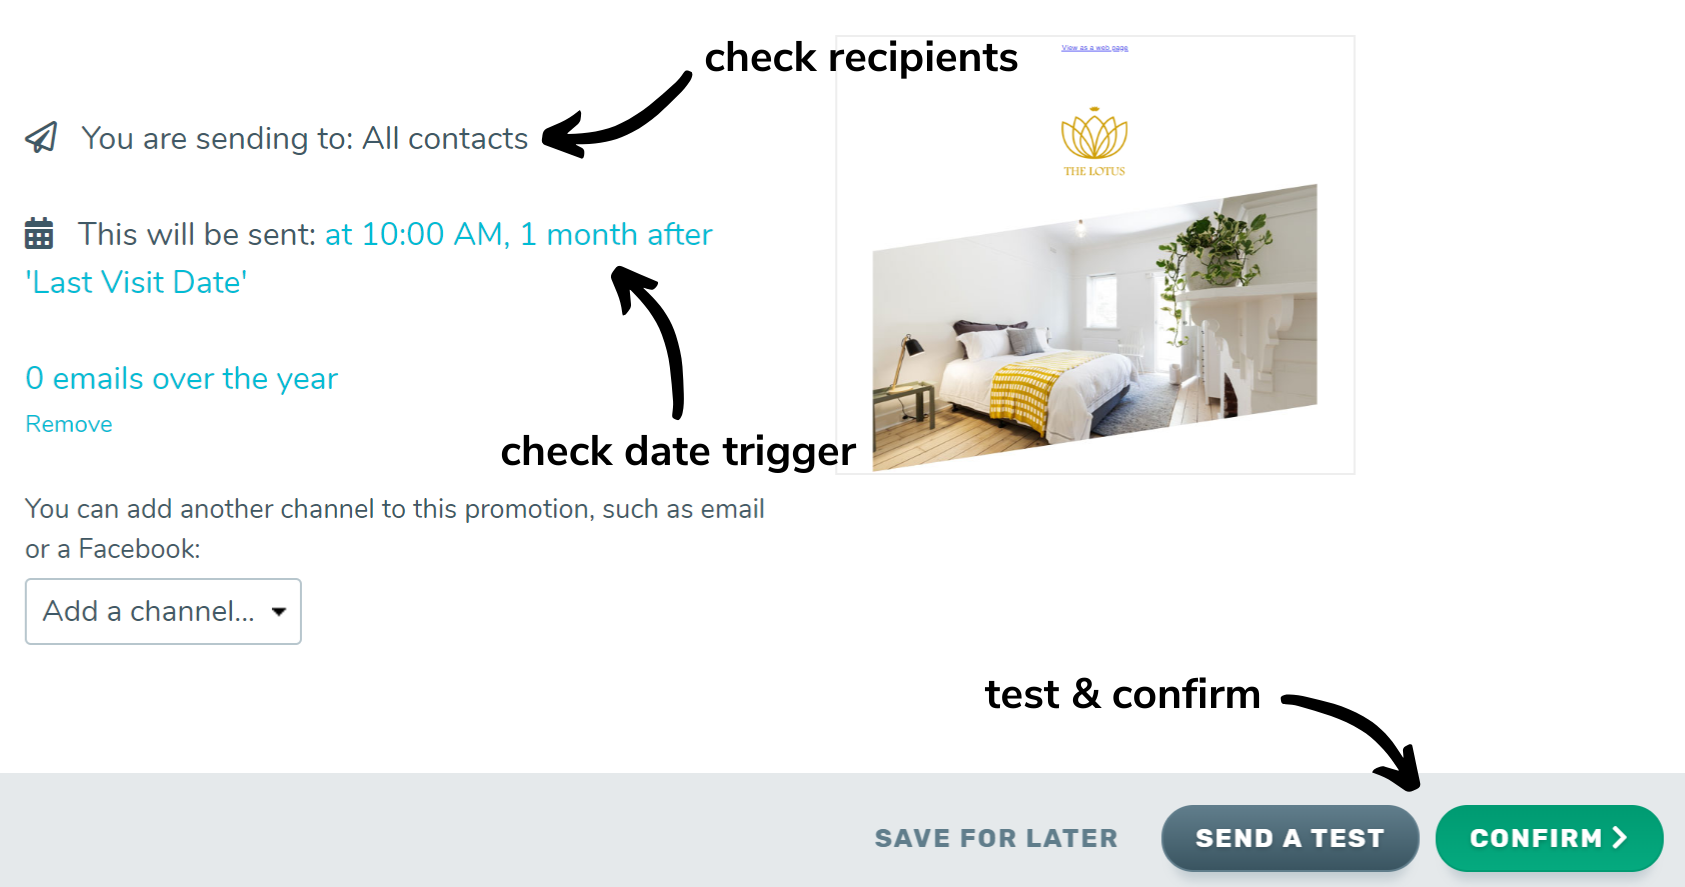
- Check that the recipient selection and trigger are both correct.
- Click the confirm button in the lower left of the page.
- Read through the details in the popup.
- Click launch to send or schedule (if a later date & time has been selected) your communication.
Step 4: Confirm & launch