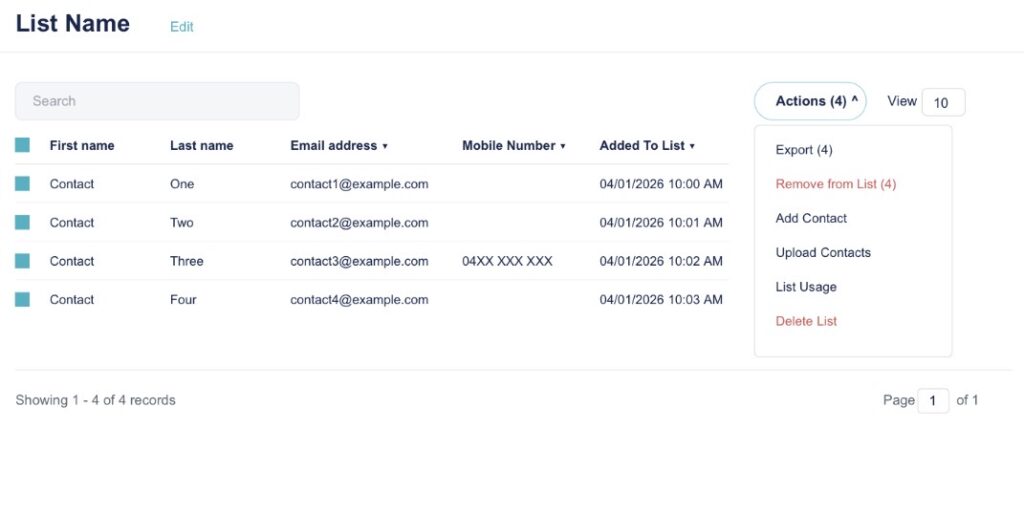
Lists in TalkBox can be assigned to any contact in your account and are useful when filtering and sending. They work similarly to saved filters in that they help you identify a group of contacts, but unlike saved filters, which are built from fields whose values may change once a contact is added to a List, they stay there until you remove them.
This article will show the ways Lists can be added to contacts in TalkBox, how they can be used to select contacts when sending communications, and how they can be removed.
Adding Lists
There are three ways to add a contact to a List: via a file upload process, individually from a contact’s profile, or from a sent communication’s recipient list.
File Upload
Step 1: Navigate to Contacts > Upload Contacts
Step 2: Choose your .csv file and click Upload
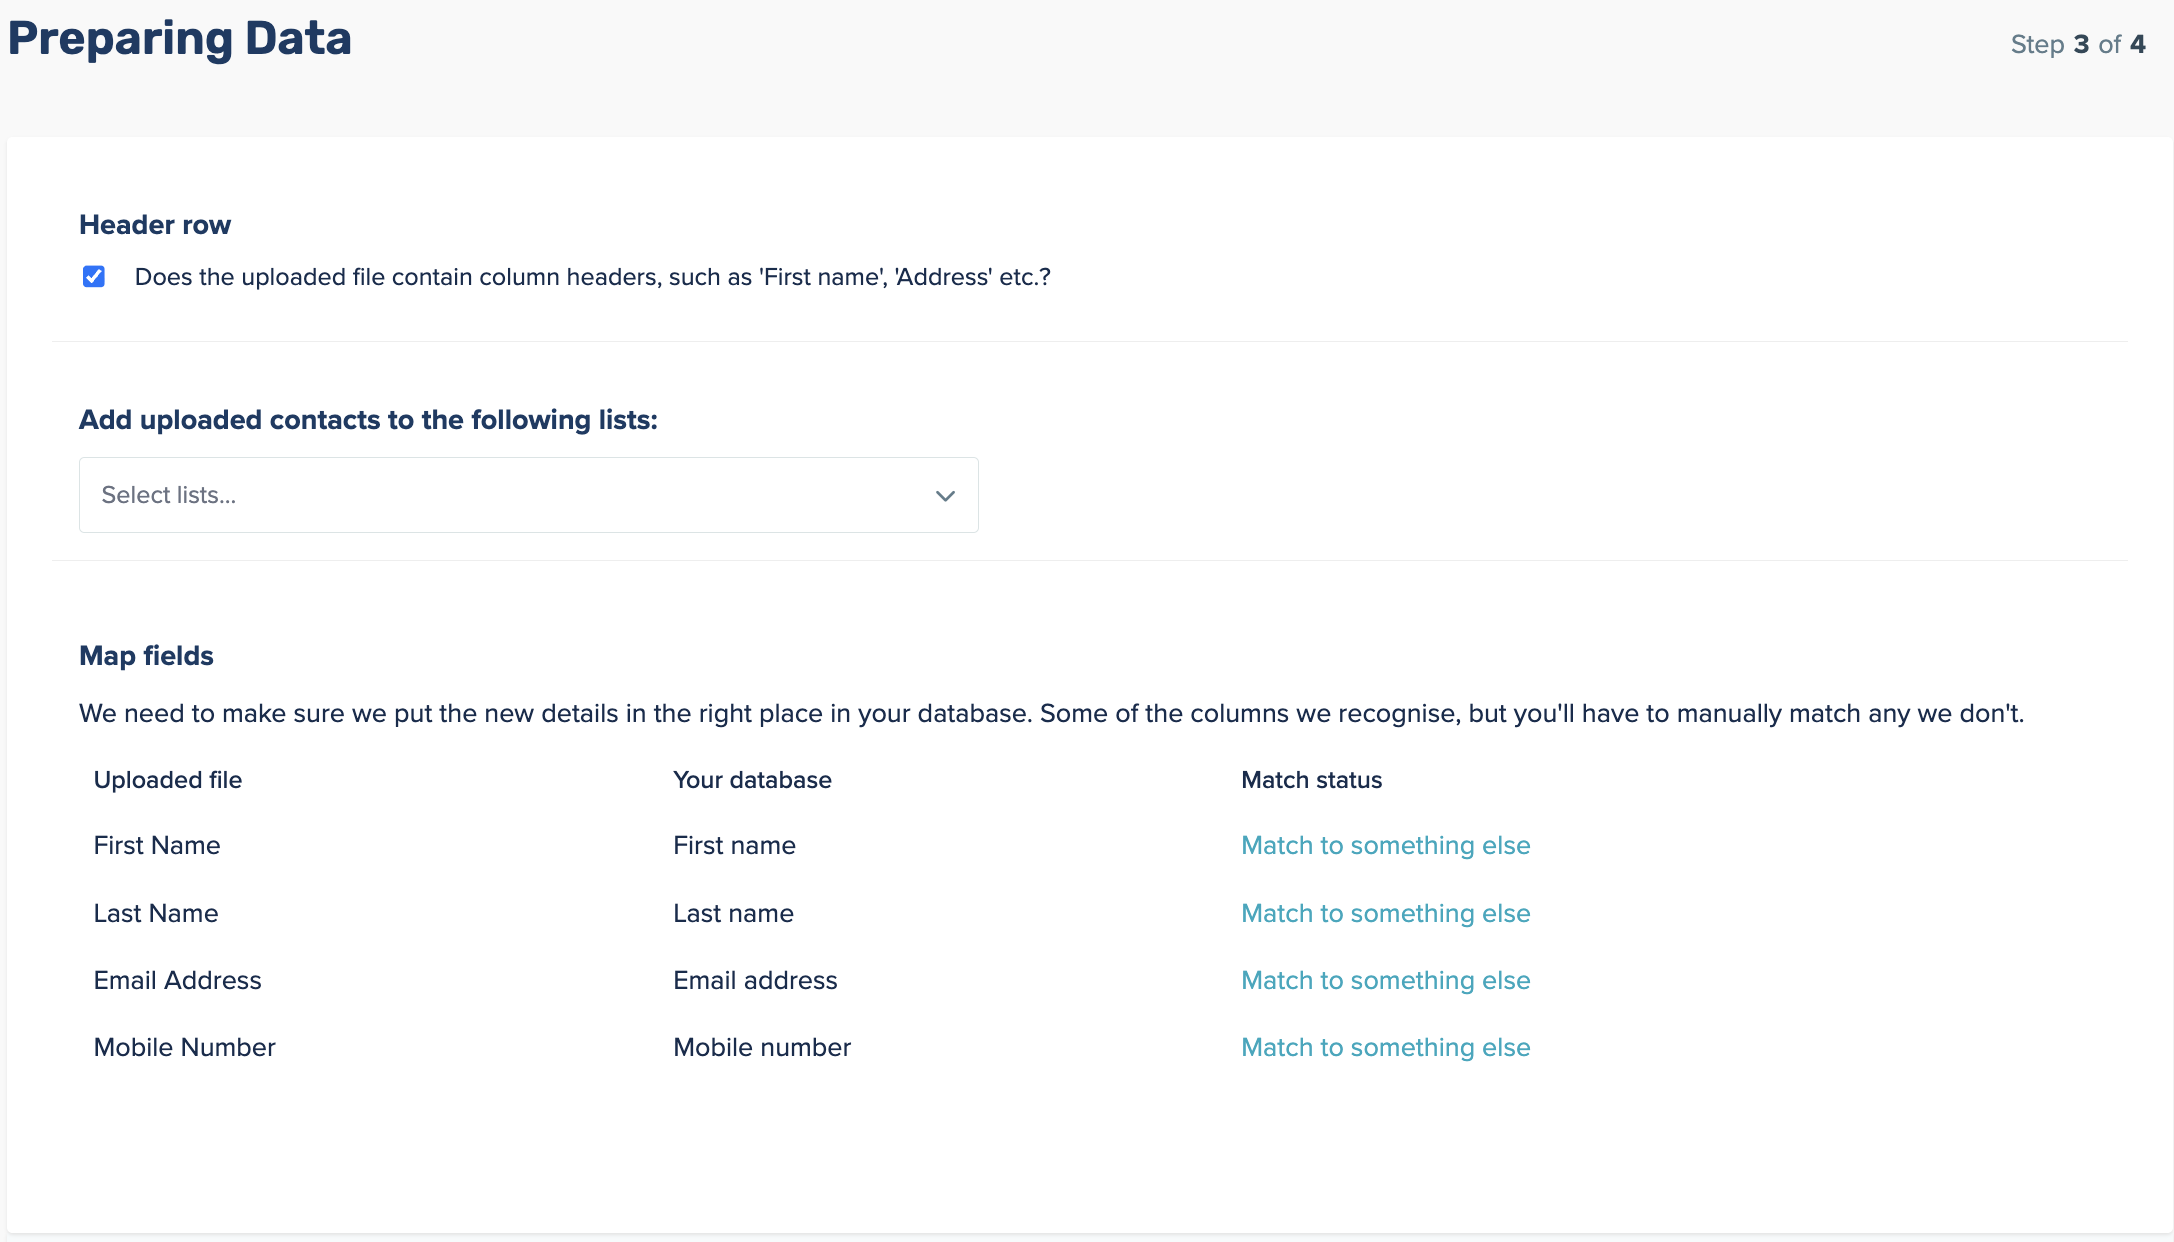
Step 3: On the data-mapping step, select an existing List to add the contacts to, or create a new one on the fly.
Step 4: Finish mapping your fields and complete the upload.
Individual Selection (Contact Profile)
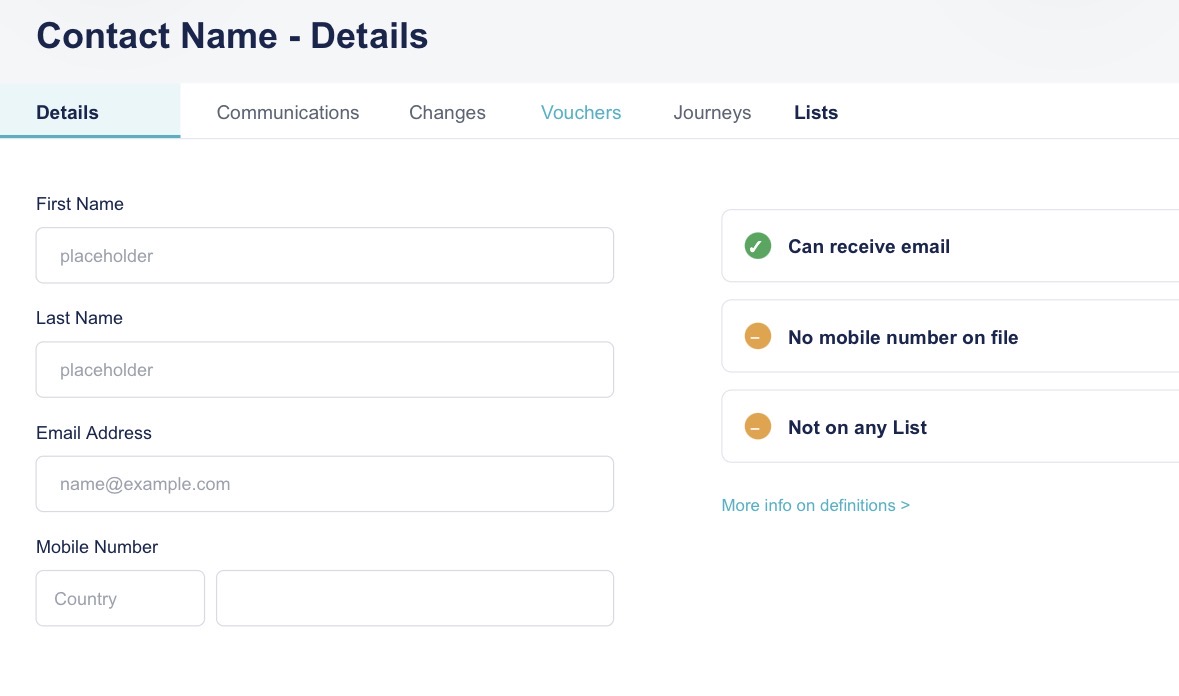
Every contact’s profile now has its own Lists tab, alongside Details, Communications, Changes, and Vouchers.
Step 1: Navigate to Contacts > My Contacts and open the contact’s profile.
Step 2: Click the Lists tab to see every List they currently belong to
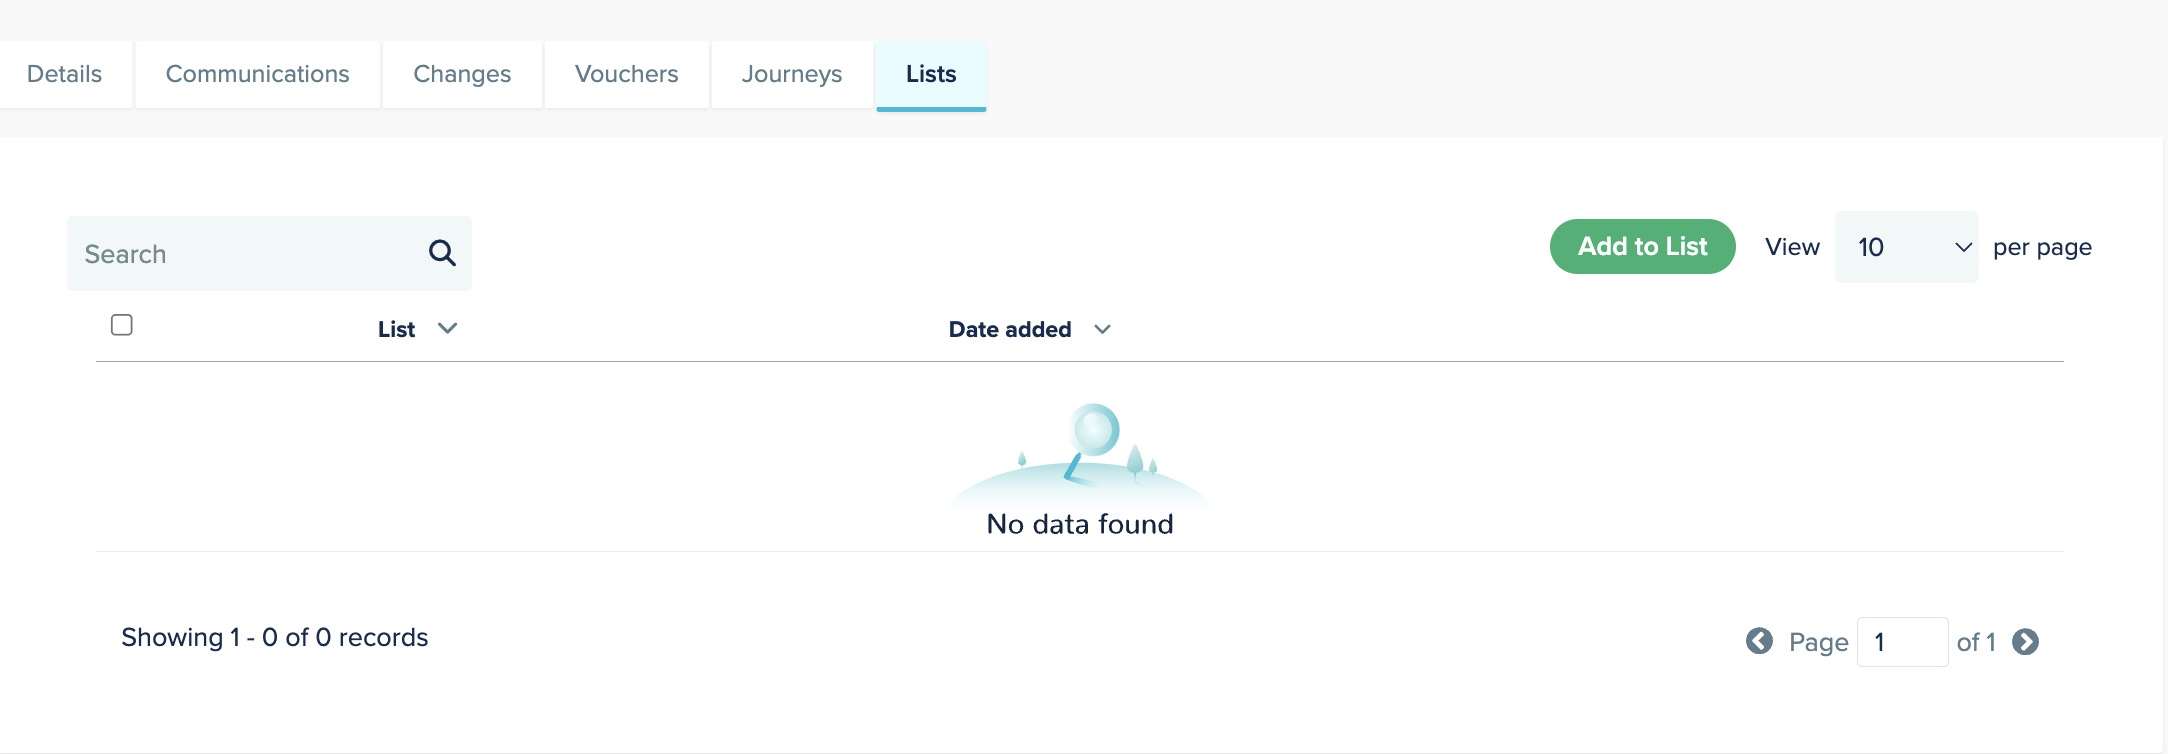
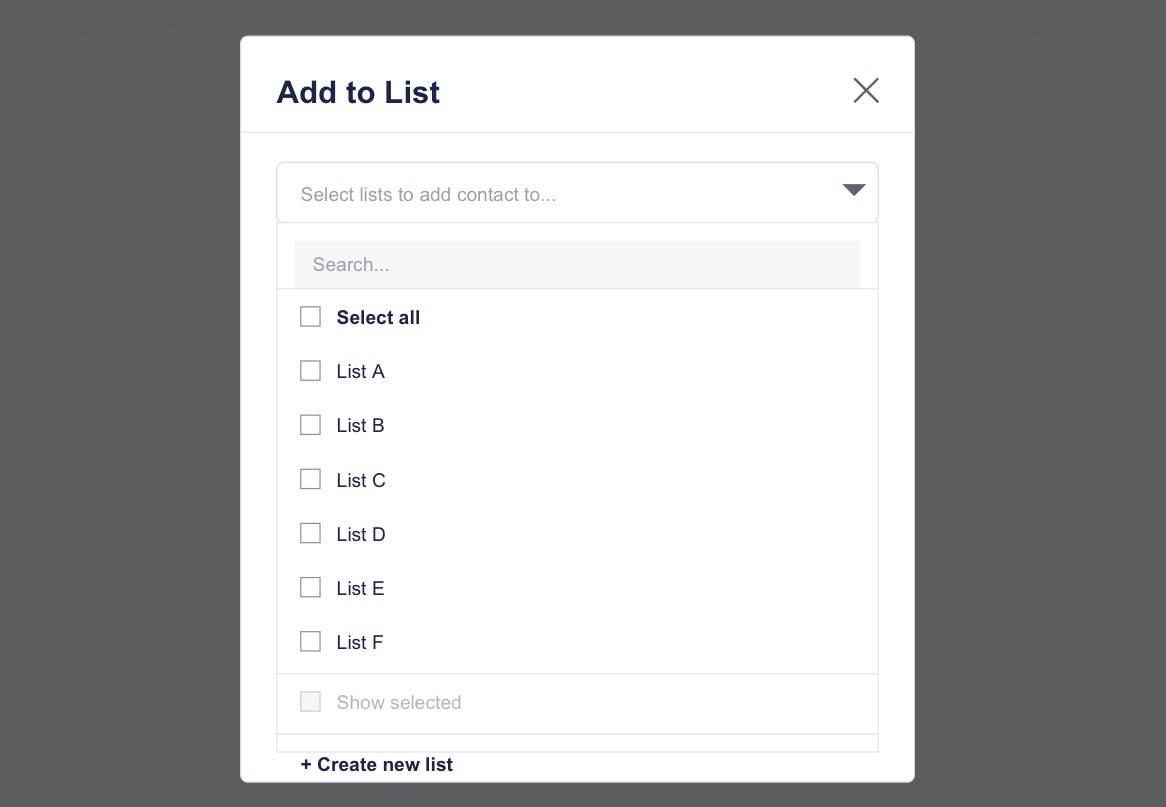
Step 3: Click Add to List > then tick the checkbox next to each List you want to add them to (or click “+ Create new list” to make a new one)
Sending a Communication to a List
When setting up a new campaign, you can target a List directly instead of building a filter from scratch.
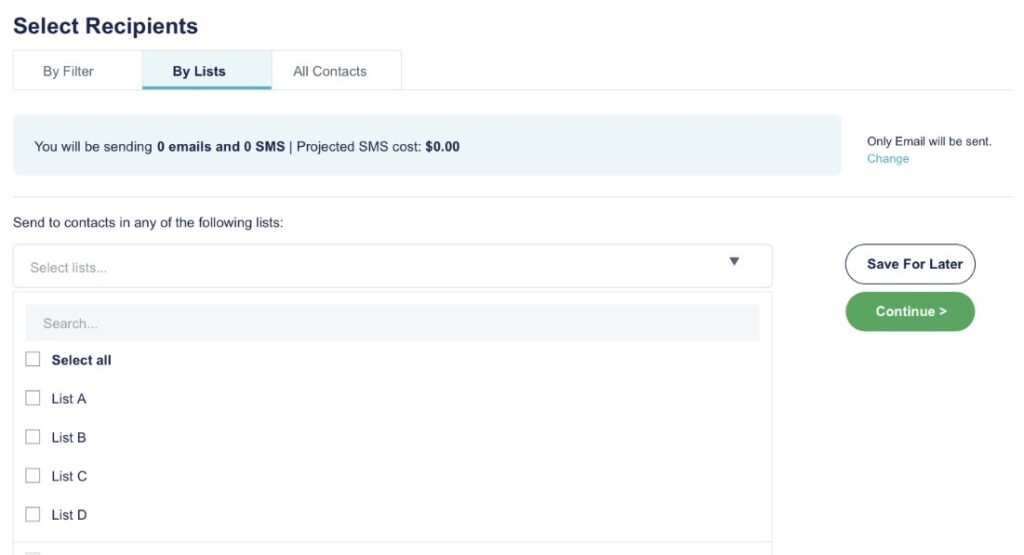
Step 1: Set up your Flyer, Email, or SMS as normal and reach the Select Recipients step.
Step 2: Choose the By Lists tab (alongside By Filter and All Contacts).
Step 3: Under “Send to contacts in any of the following lists,” open the list selector and tick the List(s) you want to send to.
Step 4: Check the projected send count/cost at the top, then click Continue or Save For Later
Removing Contacts from a List / Deleting a List
List management now happens inside the List itself via an Actions menu.
Step 1: Open the List (Contacts > Lists)
Step 2: To remove specific contacts: tick their checkboxes, open the Actions dropdown, and choose Remove from List.
Step 3: To delete the entire List: open the same Actions dropdown and choose Delete