Adding a Local field is an easy way to understand your customers and segment them for more relevant updates.
Knowing whether your customers are locals or regular visitors helps you build a stronger, more personal connection with your local community over time.
Step 1. Create ‘Local’ Field
Navigation: Contacts > Fields > Add New Field
In the field settings:
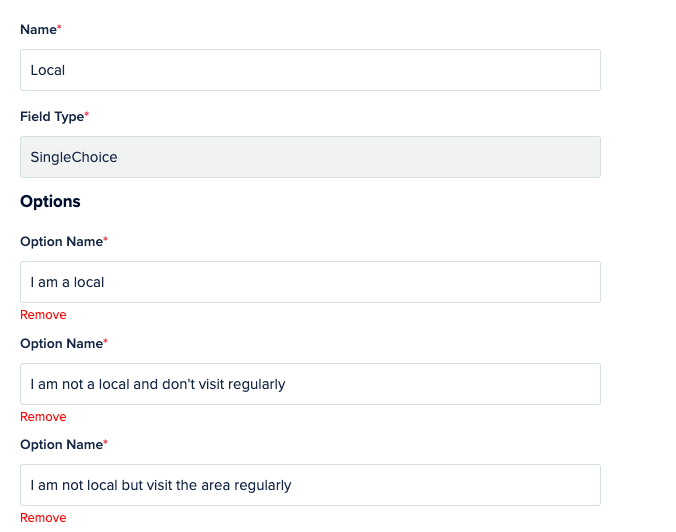
- Name: Local
- Field Type: Single Choice
- Options:
- I am a local
- I am not a local and don’t visit regularly
- I am not local but visit the area regularly
Tip: Keep the options short and clear to encourage accurate responses.
Step 2. Create a Hosted Form
Note: Add the ‘Local’ field into your ‘Update Details’ Form to capture this information alongside other important customer details.
Navigation: Tools > Forms > Hosted Forms > Create New
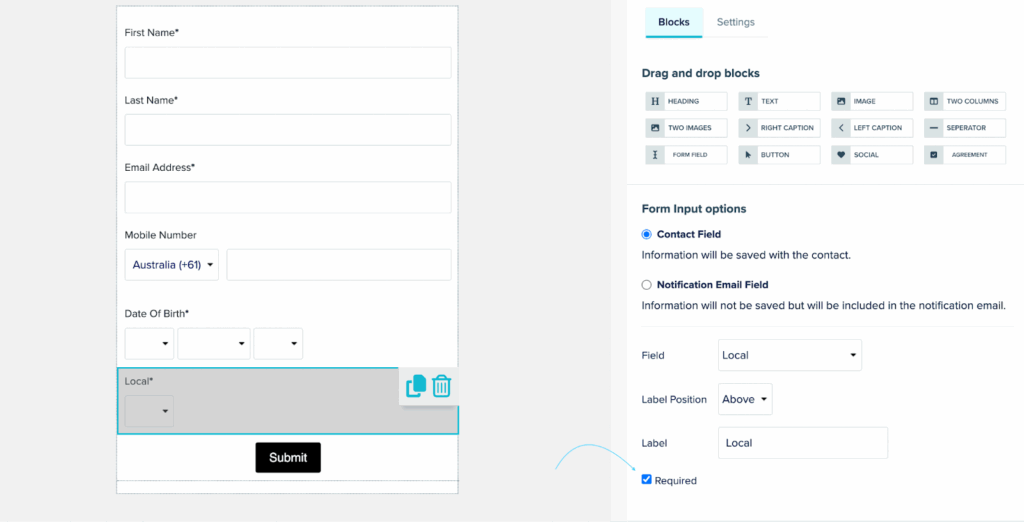
- Open your Hosted Form or create a new one.
- Drag and drop the ‘Local’ field into the form.
- Tick ‘Required’ for key fields, as needed.
Step 3. Create an Update Details Campaign
Once your form is ready, create an automated Date Triggered Communication to send out your Update Details flyer and collect missing data, including the new Local field.